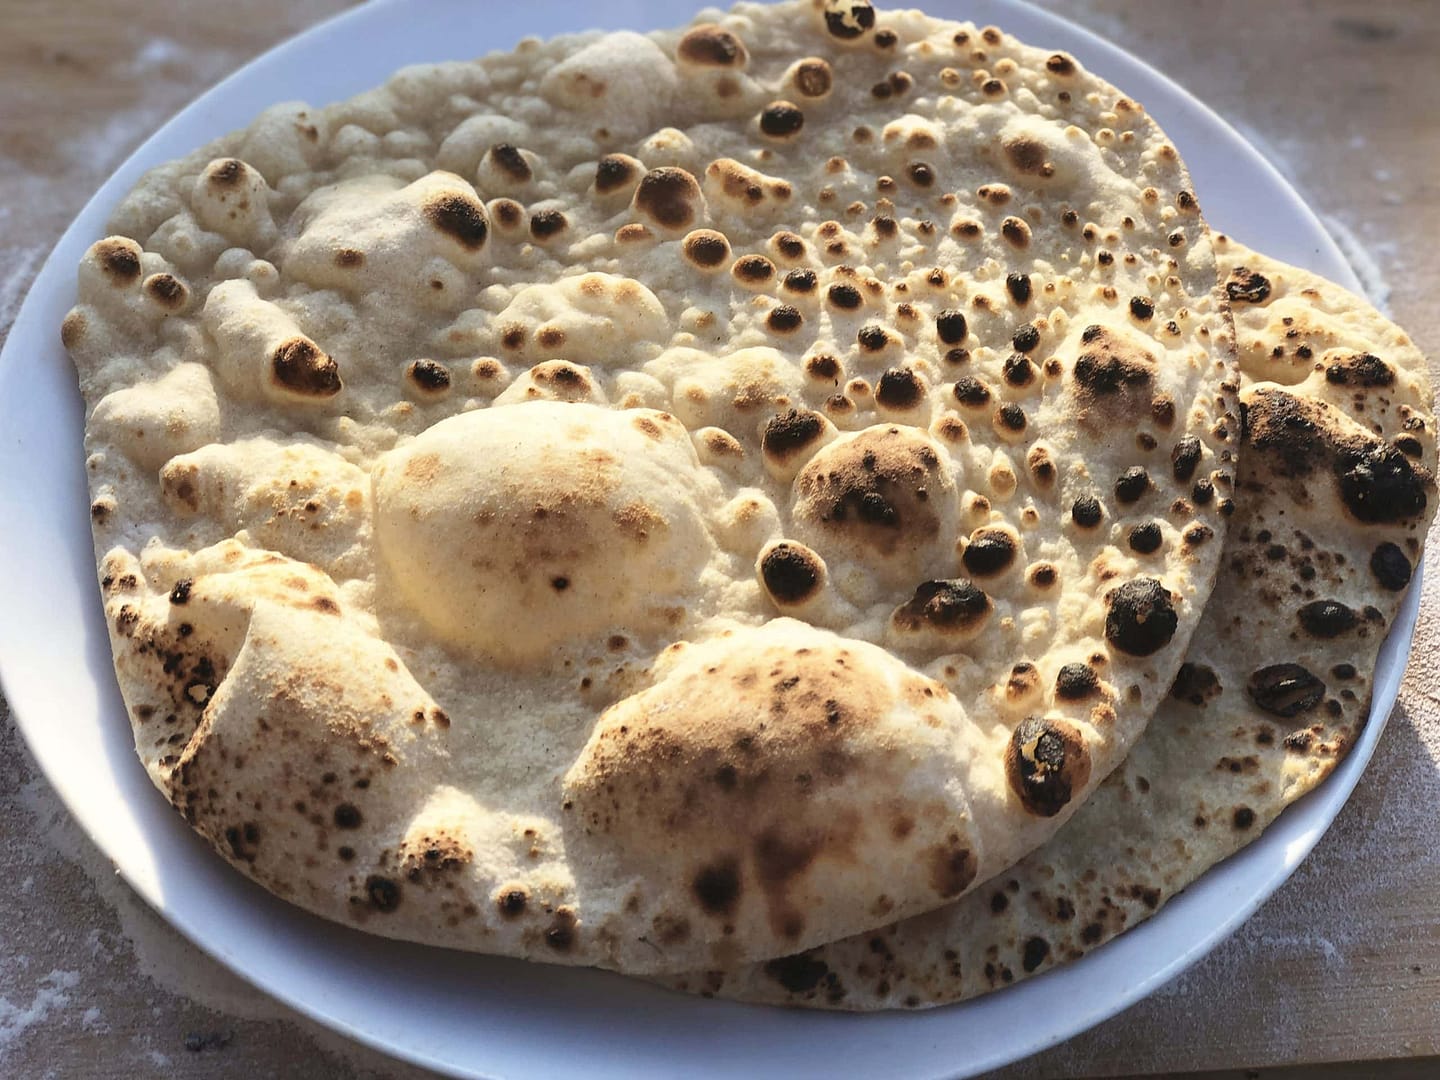
Naan Bread Recipe:
Having tried several ways of making naan bread, this is the popular method I now always use. For best results cook on a gas flame using a metal frying pan (not non-stick), or even better, a metal tava. In this recipe self-raising flour and baking powder are used instead of yeast.
This recipe is very closely based on that first demonstrated on YouTube several years ago by a Chris Johnson (also known as ‘H4ppyChris’), which has proved very popular with many people. It yields approximately 12 medium or 9 large naans. They can be frozen for future use, either as raw dough balls or as the cooked version.
This popular naan bread recipe is one of the many in my award winning cookbooks Indian Restaurant Curry at Home Volume 1 and Curry Compendium.
INGREDIENTS
- 1Kg Self-Raising Flour
- 8g Baking Powder
- 60g Sugar
- 190ml Milk
- 1 Egg, beaten
- 1 tsp Salt
- 330ml Water
- Oil for coating
Watch the Video
METHOD
- Add the milk, sugar, egg, baking powder and salt to a jug and whisk thoroughly.
- Leave in a warm place for 20-30 minutes, then add the water and whisk again.
- Empty the self-raising flour into a large bowl and form a gap in the centre.
Pour the contents of the jug into the gap in the flour. - Knead everything together thoroughly with oiled hands for a few minutes, until you have formed a smooth dough. Alternatively use an electric food mixer for convenience.
- With oiled hands compress the dough down with your fists, and then cover the bowl tightly with cling film.
- Leave for a couple of hours at room temperature, or refrigerate for up to two days.
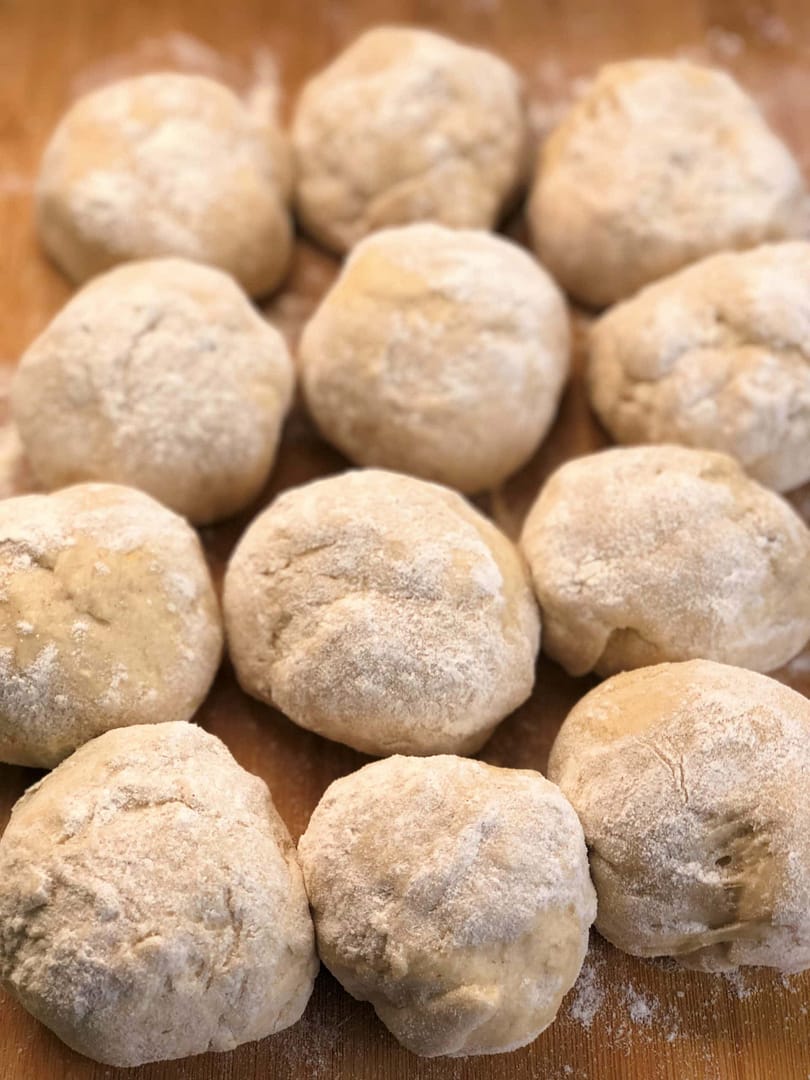
- Rip off pieces of the dough with your hands and form into smooth balls of about 7cm-9cm in diameter. Coat your hands with flour whilst doing this to help stop the dough sticking. Depending on the desired naan size (medium or large), you should have enough dough to create about 12 balls of around 135g or 9 balls of approximately 180g in weight.
SPACEHOLDER
- Place the dough balls onto a tray or chopping board then cover with cling film and leave for at least two hours at room temperature.
- When ready to cook the naan breads, sprinkle a clean and dry work surface with plenty of flour, and have a container of flour ready for dipping into.
- Each ball can be rolled out as follows:
- Dip the ball into the container of flour and gently coat it.
- Place the ball on the work surface and flatten it into a disc shape with your hand.
- Roll the disc out into a thin circle (approximately ½cm) using a clean, dry rolling pin. Spreading flour onto the rolling pin will help to prevent the dough from sticking to it.
- Brush a little oil on top to coat the surface, which will help to get the naan crispy when cooking.
- Presuming you have a gas hob available, preheat a metal (not non-stick) frying pan or tava of suitable size on the hottest flame possible. If you have a temperature gun you want to aim to heat to a temperature of around 250°C, and if not, just ensure you heat it for around 5 minutes.
- If you have an electric hob the cooking method is a little different. A metal (not non-stick) frying pan or tava is preferable, although you can use non-stick instead.
- Heat up the frying pan or tava on the highest hob setting and also pre-heat your grill on its highest setting.
- Placing the naan onto the pan/tava can be tricky, so I suggest you make a naan cushion or ‘gaddi’ in advance. To make one, wrap a clean tea towel around some clean old clothing, bedding or a small cushion and gather the corners of the tea towel tightly around to form a cushion.
- Use a rubber band to fasten the corners together so that the cushion keeps its shape. The surface of the naan cushion should be large enough for the naan.
- Gently lift the naan bread dough and place it onto the naan cushion, oil-side down. You can now carefully stretch the naan further with your hands if you wish to make it a little larger or rounder in shape.
- Now, with your fingers, coat the top side of the naan with a generous splash of water.
- Lift up the frying pan or tava at an angle and slap the naan onto it using the naan cushion. Place the pan back onto the heat immediately. You may want to press the naan down again onto the pan/tava with the cushion, to ensure it sticks.
- Leave to cook for 10-15 seconds. You should notice bubbles appearing on the surface.
- For the gas hob method lift the pan/tava off the heat and flip over. All being well, the naan will have stuck firmly to the pan/tava. Hold the inverted pan/tava close to the gas flame, and in a circular motion move it over the flame to ensure the naan cooks and browns evenly.
- For the electric hob/grill method, remove the pan/tava from the hob and place underneath the grill.
- Keep checking on progress by looking at the naan every so often. This step will take around 1 minute to complete using the gas method and possibly longer for the electric hob/grill method. The dough will rise as it cooks.
- Once the naan has a nice colour and looks well cooked, un-invert the pan/tava and remove from the heat, or remove from underneath the grill if using the electric hob method.
- Use a metal spatula to carefully unstick the naan from the pan/tava and remove onto a plate.
- You can now finish the naan as you wish, perhaps by brushing it with some garlic butter and sprinkling with a little finely chopped coriander.
SPACEHOLDER
NOTES
- All spoon measurements are level, i.e. 1 tsp=5 ml, 1 TBSP=15ml.
- Important: cooked rice should not be left at room temperature for long. If not eating it immediately, ensure that it’s either cooled down quickly and stored below 8 ̊ C, or kept above 63 ̊ C.
- Hint: scoop the whole spices out half way through cooking the rice, at which time most should be floating on or near the surface and clear of interference from the expanding rice grains.
SPACEHOLDER
- To create a multi-coloured pilau, poke a few holes in the rice with a chopstick once it has dried a little after cooking. Pour in a little food colouring of your choice into the holes, then leave to set for at least 20 minutes before forking through. If the colours smudge, then the rice was not dry enough and/or the setting process not long enough.
- The associated YouTube video shows a slightly different method, in which the aromatic spices are added as a tarka (fried in oil) after the rice has been cooked. You can adopt whichever approach you prefer.
2 Comments
Submit a Comment
You must be logged in to post a comment.


Lovely Naan Breads the best ever after all the recipes i have tried i found this recipe the best for me, thanks for the great recipes
Thanks very much. May your currying carry on continuosly Charlene.